Objectives
- This chapter will help you to better understand functions and their syntax;
- Most important, it will help you understand the structure of the simple conditional and how it is used.
Functions, continuation...
In the previous chapter we saw how to use functions with arguments. However, some functions can be used without arguments, since their tasks are the same in any environment and an argument is therefore unnecessary. This exercise contains this type of function.
So how does this work? Well, in short, you simply call the function with nothing following it. BUT, you still have to include the empty parentheses. The function for the coin-tossing robot in this exercise is therefore written as tossCoin ();
Why is “Coin” capitalized? To make code easier to understand, functions are given names that mean something. Scripts with a dozen or more functions called a, A, B, c, C0, etc. can quickly become incomprehensible, even to the person writing them. So the names given to functions should describe the action as closely as possible. It is customary in JavaScript to write the names in lowercase, but when the most descriptive name involves more than one word, each new word takes a capital letter to make it easier to read. For example, catchTheCoin(); is much easier to read than catchthecoin();.
Ready???
Your Challenge, Your Task
Write your code so that the robot shows the correct side of the coin.
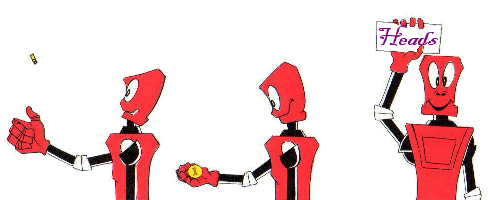
The robot can toss a coin, catch it and show whether it's Heads or Tails.
To do this, it is able to handle a conditional structure, that is, a process that allows it to look at the coin, test a condition and, depending on the outcome of the test, display which side of the coin is observed. Here is a description of this structure.
The Conditional Control Structure
In everyday life, we sometimes need to test certain conditions before acting. This is the case when we want to go out, for example, in which case our mental mechanism is as follows:
- if (the result of the test « it's raining » is true)
- take an umbrella
We can see in this case that if a condition returns the result true, this causes an action, but if the result is false, nothing happens, life goes on as usual.
On the other hand, there are some situations where if the result of the condition is false, this will lead to further action. This is the case, for example, when we have to throw something out. Our mental process is something like the following:
- if (the result of the test « the item is recyclable » is true)
- we throw the item in the recycling bin
- else
- we throw the item in the trash can for non-recyclables
As we can see by closely examing this structure, regardless of the test result, we will take one of two actions, but never both actions at once.
If the result of the test is true, we will take the action that immediately follows the test. Upon arriving at else, we will then « jump » that action and continue with the code that follows the action.
However, if the result of the test is false, we will « jump » the action that follows the test and go directly to the action found after else, and then continue on with the rest of the code.
But if there are several actions, how do you know how many actions to « jump »? It can be assumed that there will always be one single action in the if and one action in the else (which is optional). If there is more than one action, then these actions will be enclosed in curly braces: { and }, and thus combined into one. These braces are optional if there is only one action and required if the if or else contains several actions to be carried out.
So how is this handled in JavaScript?
Here is the JavaScript syntax of the various possible cases:
- if (test)
- singleInstruction;
Note: the following structures are correct:
- if (test) {
- singleInstruction;
- if (test) {
- instruction1;
- instruction2;
- instruction3;
- if (test)
- singleInstruction;
- else {
- instruction1;
- instruction2;
- if (test) {
- instruction1;
- instruction2;
- else
- singleInstruction;
- if (test) {
- instruction1;
- instruction2;
- else {
- instruction3;
- instruction4;
Please note that indenting the instructions contained in the conditional has no effect on the execution of the code, but it is a good habit to get into to make your scripts easier to read.
Available functions
Each type of robot has its own special functions. The functions are very similar since they all have the same purpose – to carry out what they are asked to do. Note, however, that there are two possible types of results:
- The action functions command the robot to carry out a specific action;
- The test functions tell the robot to test a condition and « return » a result of either true or false.
The functions available for the following exercise are as follows:
- The action function tossCoin(); has no argument: the robot throws the coin in the air and catches it;
- The action function show('side'); has the argument 'side' which must be either 'tails' or 'heads': the robot will show the result based on the string of characters you enter;
- The test function tails(); returns true if the visible side of the coin caught is in fact tails or false if it isn't.
Now it’s your turn to apply everything you’ve just read above – good luck!